A Guest WiFi Network is a smart way to share internet access without giving visitors your main Wi-Fi password. It creates a separate connection for guests, keeping your personal devices, files, and private network safer. Whether you are at home, in an office, or running a small business, guest Wi-Fi helps you control who connects to your internet. It also reduces security risks and keeps your main network cleaner, faster, and more protected.
What Is a Guest WiFi Network?
A Guest Wi-Fi Network is a separate wireless connection created for visitors, friends, customers, or temporary users. It allows them to use your internet without connecting to your main Private/Home Wi-Fi Network. This helps keep your personal devices, files, and smart gadgets more secure.
Instead of sharing your main Wi-Fi password with everyone, you can give guests a separate network name and password. This makes it easier to manage access and change the guest password whenever needed. It is a simple but powerful way to protect your home or office network.
How to Create a Guest WiFi Network on Your Router
Creating a Guest WiFi Network on your router is usually simple and only takes a few minutes. You just need to open your router settings, enable the guest network option, create a separate SSID, and protect it with a strong password.
Step 1: Open Your Router Login Page
- Connect your phone, laptop, or PC to your main Wi-Fi network.
- Open any browser like Chrome, Edge, Safari, or Firefox.
- Type your router IP address in the address bar.
- Common router IPs include 10.0.0.1, 192.168.0.1, and 192.168.1.1.
- Press Enter to open the router login page.
Step 2: Sign In to the Admin Panel
- Enter your router admin username and password.
- Check the router label if you do not know the default login details.
- If you already changed the admin password, use your updated login details.
- Avoid confusing the router admin password with your Wi-Fi password.
- After signing in, you will reach the router dashboard.
Step 3: Find Guest Wi-Fi Settings
- Look for a menu named Wireless, Wi-Fi Settings, or Advanced Settings.
- Find the option called Guest Network or Guest Wi-Fi.
- Some routers place this feature under security or access control settings.
- Click the guest network option to open its settings.
- Turn on or enable the guest Wi-Fi feature.
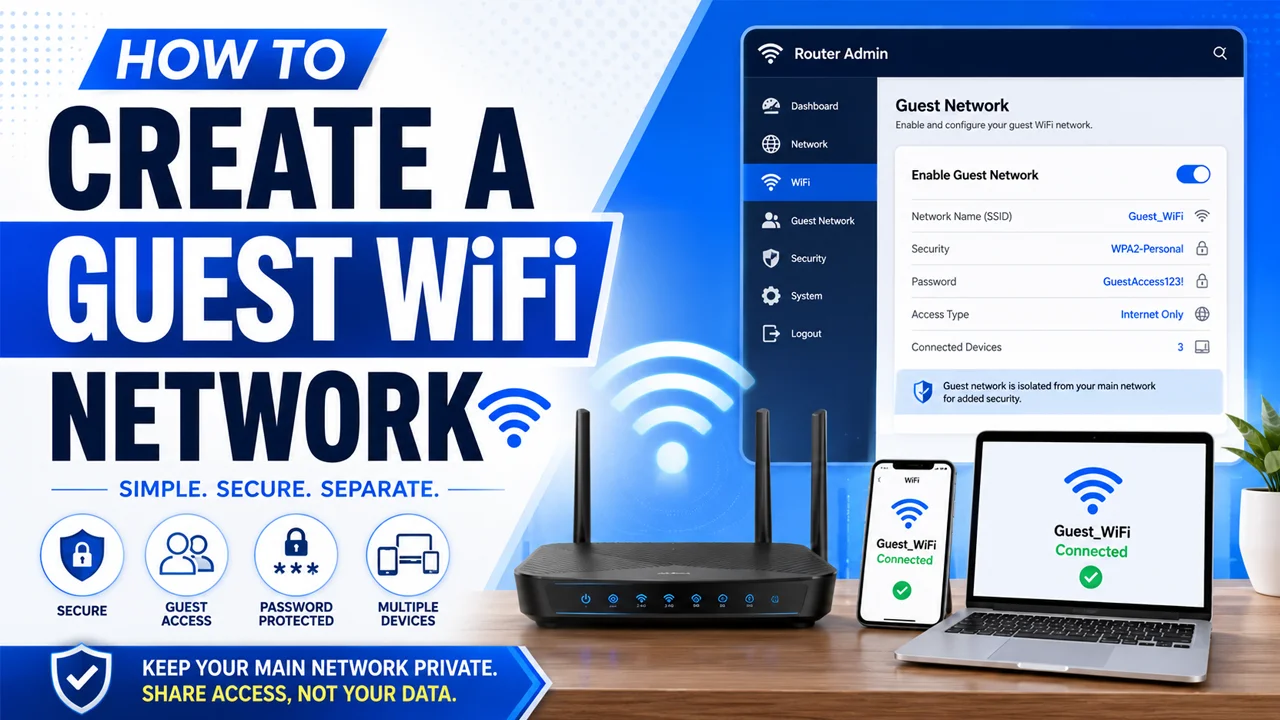
Step 4: Create a Guest SSID
- Choose a separate network name for your guest Wi-Fi.
- This network name is called an SSID.
- Use a simple name like Home_Guest, Office_Guest, or Guest_WiFi.
- Avoid using private details like your full name, address, or phone number.
- Make sure the guest SSID is easy for visitors to recognize.
Step 5: Add a Strong Password
- Create a different password for your guest network.
- Use a mix of letters, numbers, and symbols for better security.
- Do not use weak passwords like 12345678, password, or guestwifi.
- Keep the password easy enough to share but hard enough to guess.
- Change the guest password from time to time for extra safety.
Step 6: Save and Test the Network
- Click Save, Apply, or Update to confirm the settings.
- Wait a few seconds while the router applies the changes.
- Open Wi-Fi settings on your phone or laptop.
- Select the new guest SSID and enter the password.
- Test the internet connection to make sure the guest network works properly.
Why Should You Create a Guest Wi-Fi Network?
Creating a Guest Wi-Fi Network helps you share internet access without exposing your main Private/Home Wi-Fi Network. When visitors connect to a separate guest network, your personal devices, smart gadgets, files, and router settings stay more protected. It is a simple way to keep your home or office network clean and secure.
A guest network also reduces risks from unknown or infected devices. If a guest’s phone or laptop has Malware, it stays separated from your main network and trusted devices. Plus, you can change the guest Wi-Fi password anytime without disturbing your private Wi-Fi connection.
How Xfinity WiFi Home Hotspot Works
Xfinity WiFi Home Hotspot is a feature that allows an eligible Xfinity Wireless Gateway or Xfinity Gateway to broadcast a separate public Wi-Fi signal. This hotspot usually appears as “xfinitywifi” in the available Wi-Fi network list. It is different from your private home Wi-Fi network, so people using it do not get access to your personal devices or main Wi-Fi password.
- The hotspot uses a separate public SSID named “xfinitywifi.”
- Users usually need an Xfinity ID to connect and use the hotspot.
- It does not replace your Private/Home Wi-Fi Network.
- Your personal Wi-Fi name, password, and connected devices stay separate.
- You can manage this feature from the Xfinity hotspot settings page.
- Use the Turn On button to enable it and the Turn Off button to disable it.
Common Guest Wi-Fi Network Problems
- Guest Network Not Showing: The guest Wi-Fi option may be turned off in your router settings. Log in to your router admin panel and make sure the Guest Wi-Fi Network feature is enabled.
- Wrong Guest Wi-Fi Password: If guests cannot connect, the password may be typed incorrectly. Check the guest network password and make sure there are no extra spaces or spelling mistakes.
- Weak Wi-Fi Signal: A guest network may not work well if the device is too far from the router. Move closer to the router or place the router in a more open area for better coverage.
- Slow Internet Speed: Too many connected guest devices can slow down your internet. Limit the number of users or disconnect devices that are not needed.
- Guest Devices Cannot Access the Internet: Sometimes the guest network connects but does not provide internet access. Restart the router and check if your main internet connection is working properly.
- Guest Network Accessing Private Devices: If guests can see your printer, computer, or smart devices, guest isolation may be disabled. Turn on device isolation or block access to your Private/Home Wi-Fi Network.
- Router Settings Not Saving: If your guest Wi-Fi changes are not saved, update your router firmware or restart the router after applying settings.
- Xfinity Hotspot Not Appearing: If xfinitywifi is not showing, the Xfinity WiFi Home Hotspot feature may be disabled. Sign in with your Xfinity ID and check the hotspot settings page.
Final Thoughts
Creating a Guest Wi-Fi Network is a simple step that can make your home or office internet much safer and easier to manage. It lets visitors connect to the internet without exposing your main Private/Home Wi-Fi Network or personal devices. Whether you use a normal router or an Xfinity Gateway, guest access helps keep your network clean, private, and organized. Always use a strong password, choose a clear SSID, and update your router settings when needed for better protection.
Frequently Asked Questions (FAQs)
What is a guest Wi-Fi network?
A Guest Wi-Fi Network is a separate Wi-Fi connection made for visitors or temporary users. It allows them to use the internet without connecting to your main private network.
Is guest Wi-Fi safer than sharing my main Wi-Fi password?
Yes, guest Wi-Fi is safer because it keeps visitor devices separate from your personal devices. It also helps protect your main Wi-Fi password and reduces the risk of unwanted access or malware issues.
Can I create a guest Wi-Fi network on Xfinity Gateway?
Yes, many Xfinity Gateway devices support guest or public hotspot features. You can manage the Xfinity WiFi Home Hotspot using your Xfinity ID and turn it on or off from the hotspot settings page.
What is xfinity wifi?
xfinitywifi is the public Wi-Fi SSID used by Xfinity hotspots. It is separate from your private home Wi-Fi network and usually requires an Xfinity ID to connect.